Weaver’s Fen City is kind of a mess. And I don’t just mean the bog water everywhere. Rather, the city’s layout is less than ideal.
If you plan to craft at just a few specific stations then it might be perfect for you. But the crafting stations are in three different areas, with the trading post in a fourth. And annoyingly, the trading post is nowhere near a storage shed.
Still, it has lots of tier 4 houses to choose from! If you need the perks of a tier 4 home but you’re also particular about layout and location, then Weaver’s Fen at least gives you lots of options.
Weaver’s Fen House Map
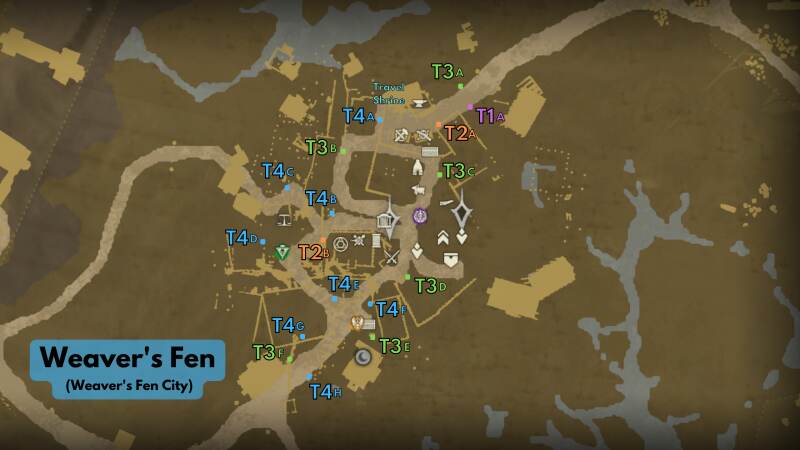
Tier 4: Costs 20,000 coin & requires 30 Territory Standing
Tier 3: Costs 15,000 coin & requires 20 Territory Standing
Tier 2: Costs 10,000 coin (no Territory Standing requirement)
Tier 1: Costs 5,000 coin (no Territory Standing requirement)
Tier 4 Weaver’s Fen Houses
If you’re after the best house bonuses possible then you’re in good hands here since Weaver’s Fen has lots of Tier 4 houses to choose from. Across the eight houses, there are four designs: two of them unique, all of them swampy.
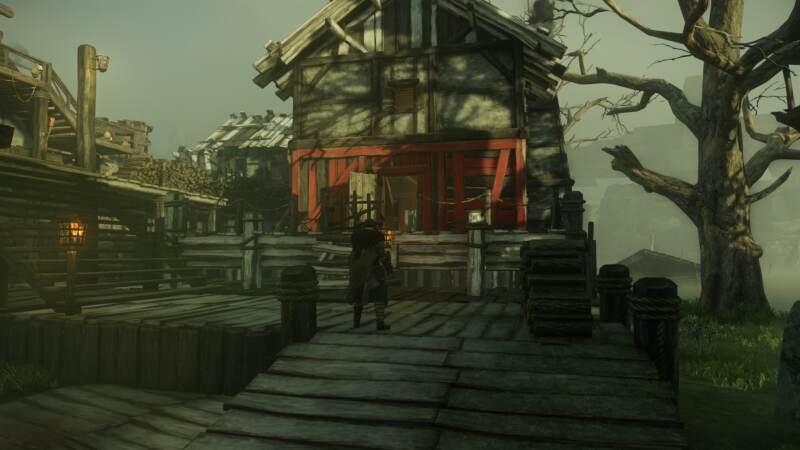
Tier 4 House A (T4A)
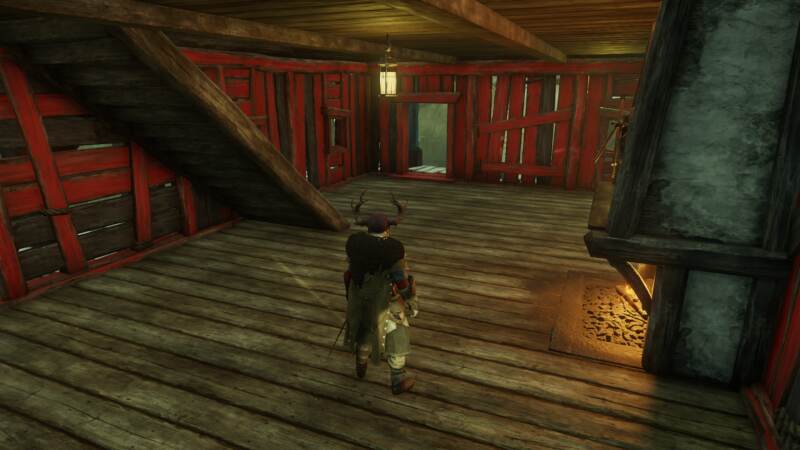
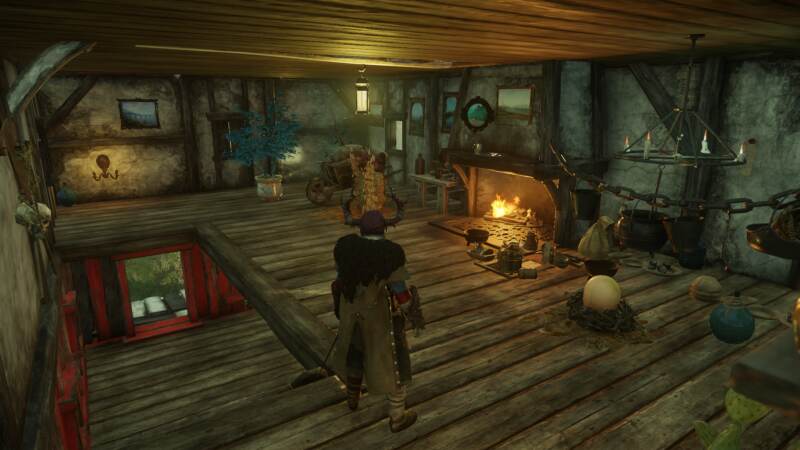
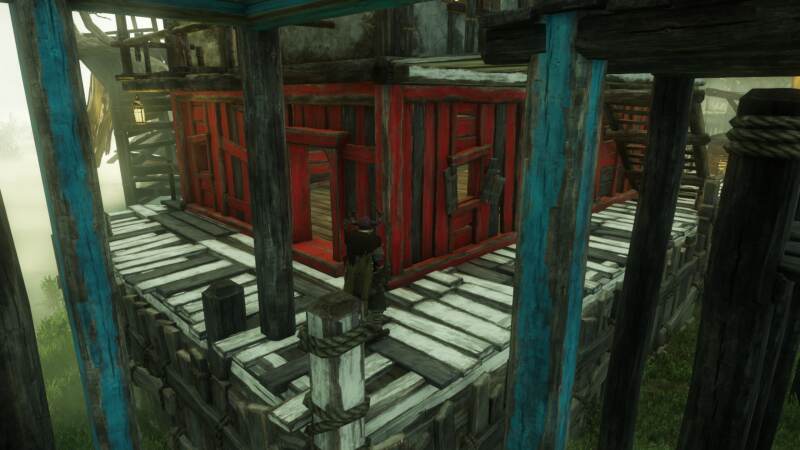
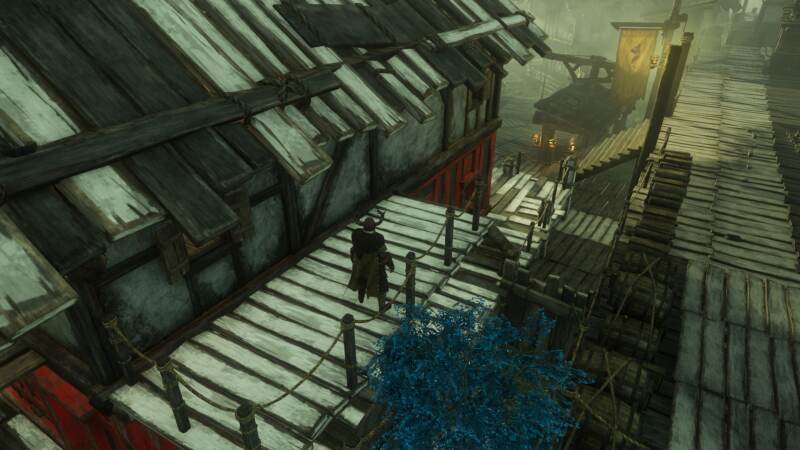
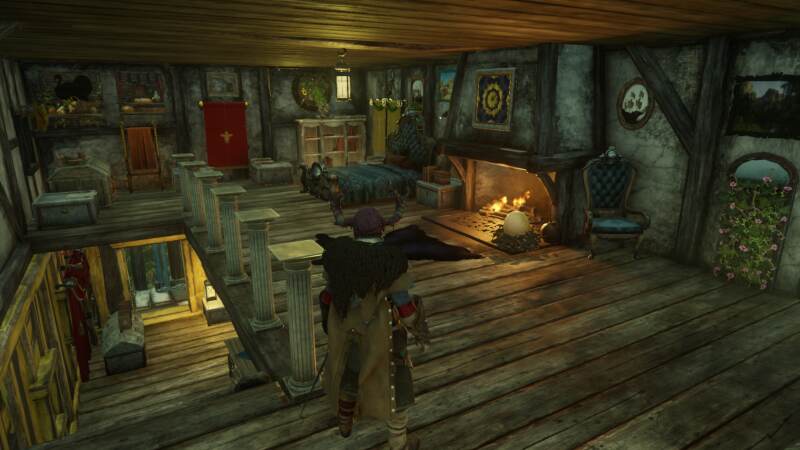
T4A is near a few crafting stations which is nice. As far as the layout goes you’ve got two separate outdoor spaces behind the house and to the side up a ramp. The top floor also doesn’t have a railing for some reason.
Tier 4 House B (T4B)
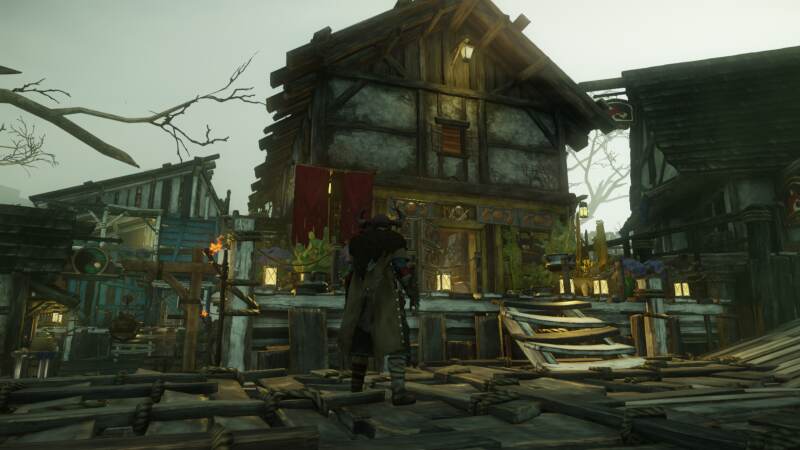
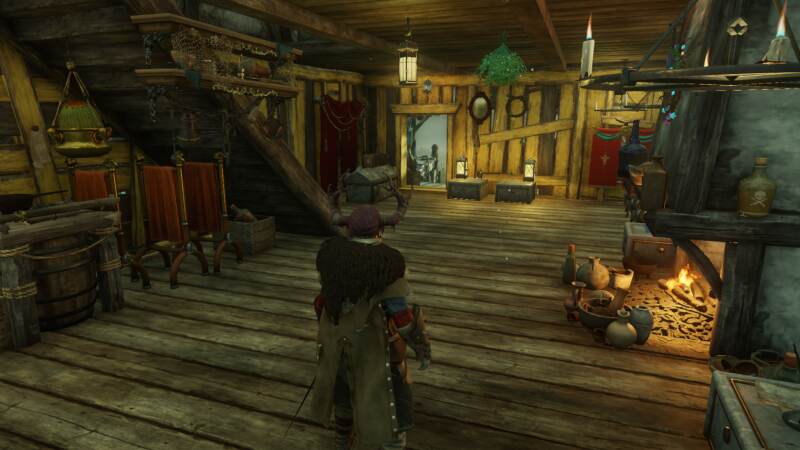
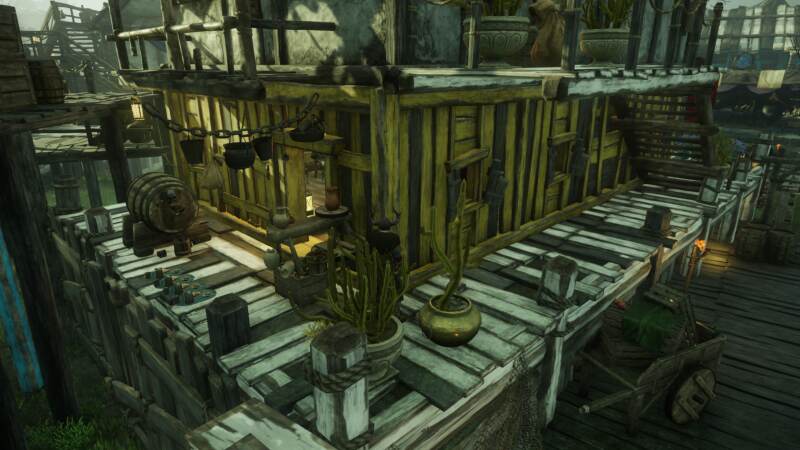
T4B has an identical layout to the previous house, but without the pillars behind the house, so that frees up some space for decorations. It’s also not sitting quite so directly on top of the swamp, which may or may not be your preference. Pretty close to some crafting stations and the trading post too.
Tier 4 House C (T4C)
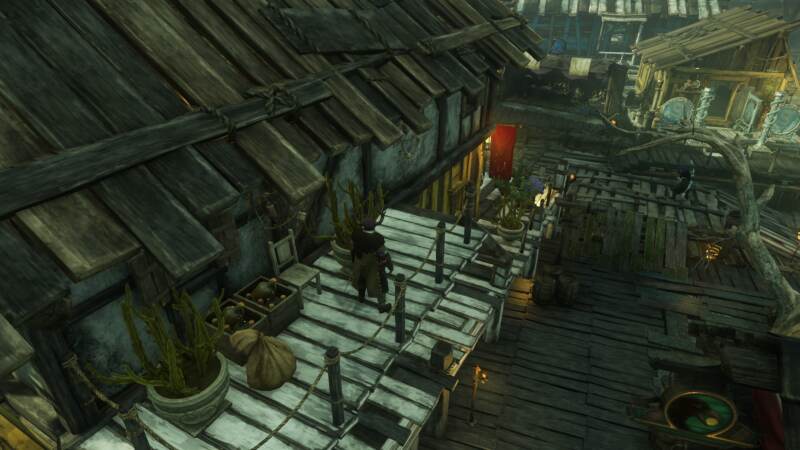
This might be the best location you can get if you frequent the trading post, since it’s right outside the front door. For the creative decorators, the open balconies on the top floor are an uncommon feature, as is the side area with the small roofs.
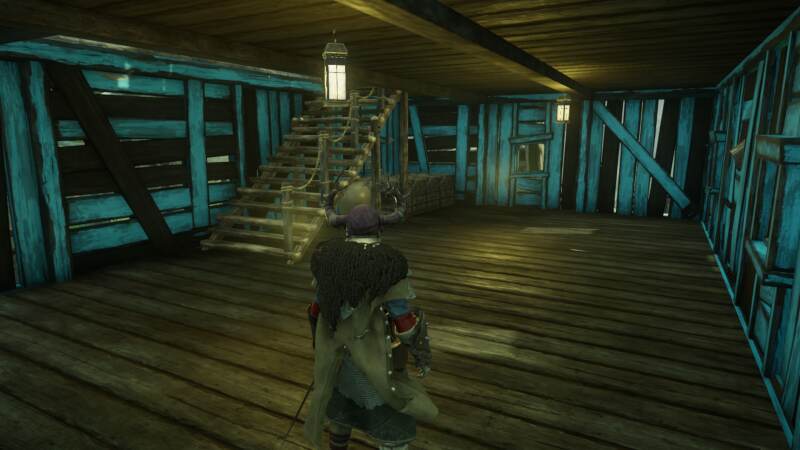
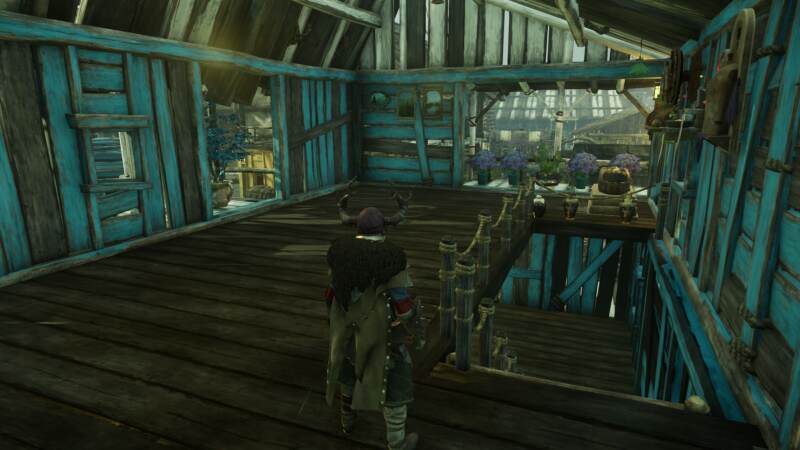
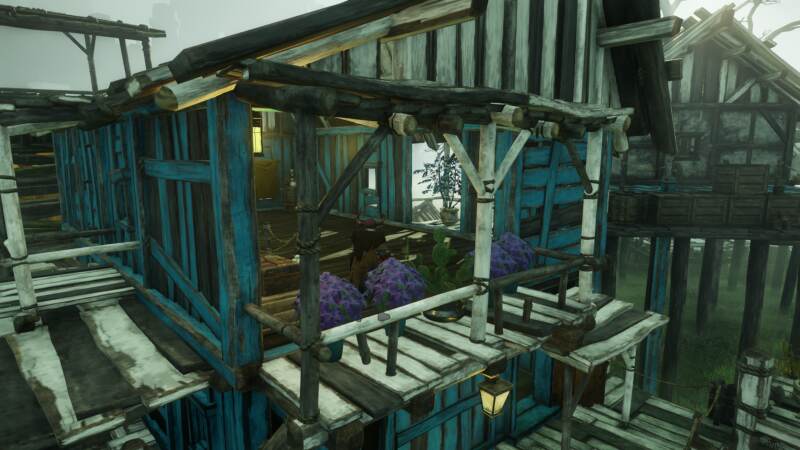
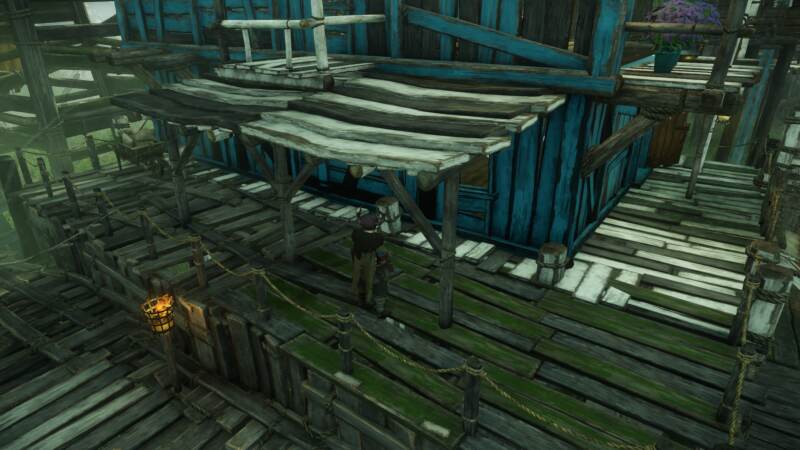
Tier 4 House D (T4D)
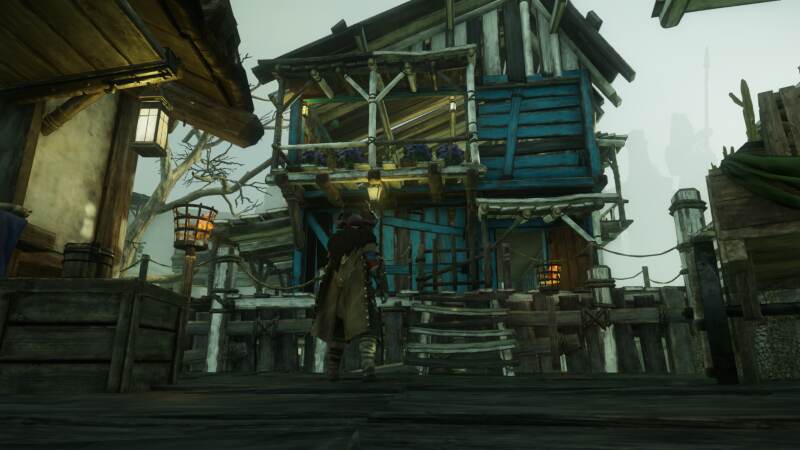
While the balconies on T4D are tiny, the rear one has a surprisingly nice view. You also get some awkwardly shaped outside space to decorate, and you’re still right next to the trading post of the city.
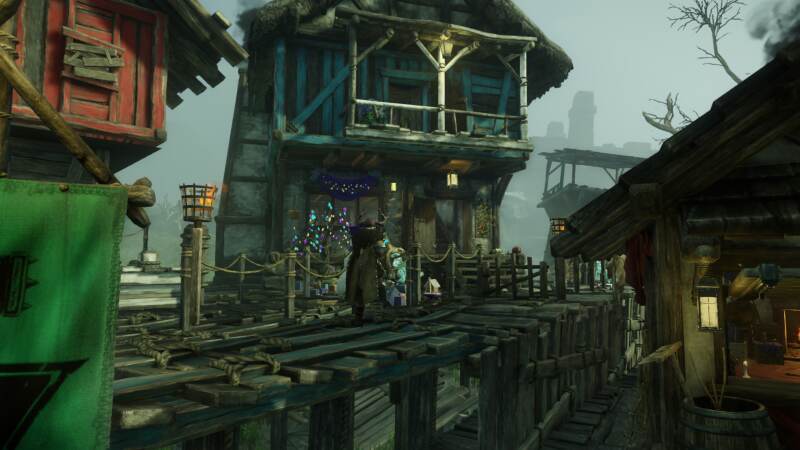
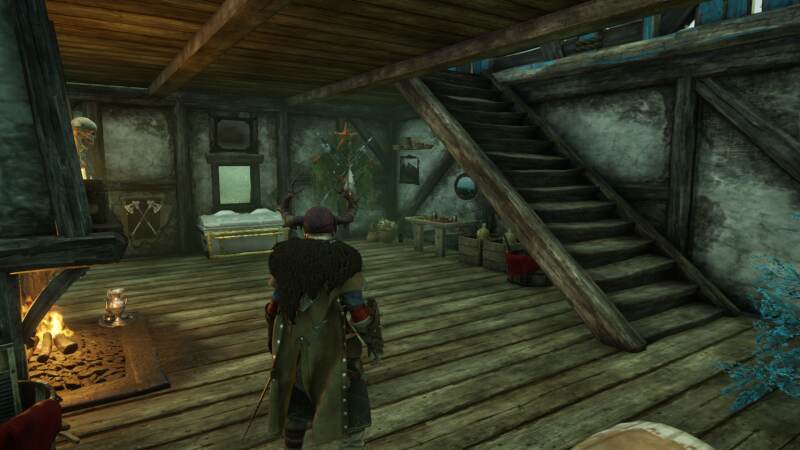
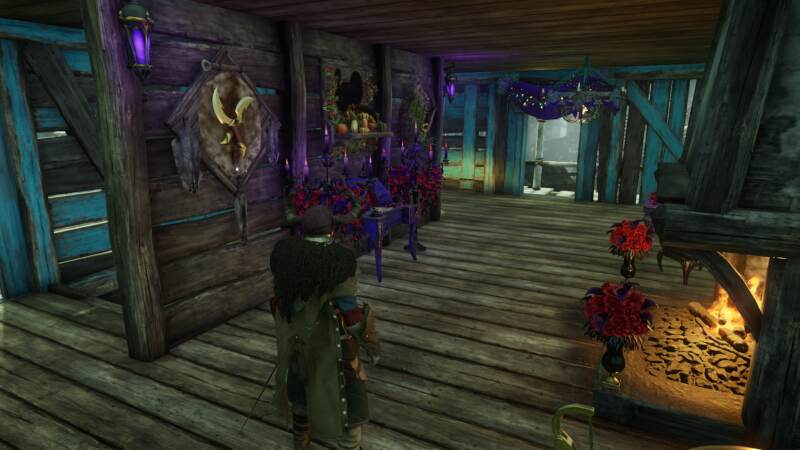
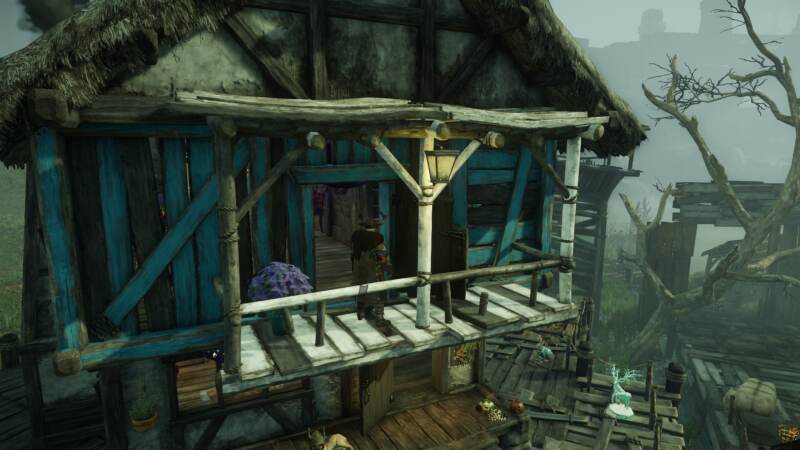
Tier 4 House E (T4E)
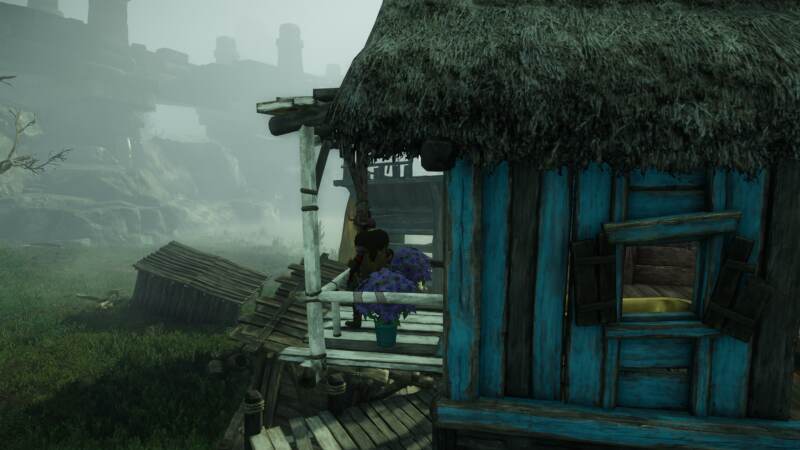
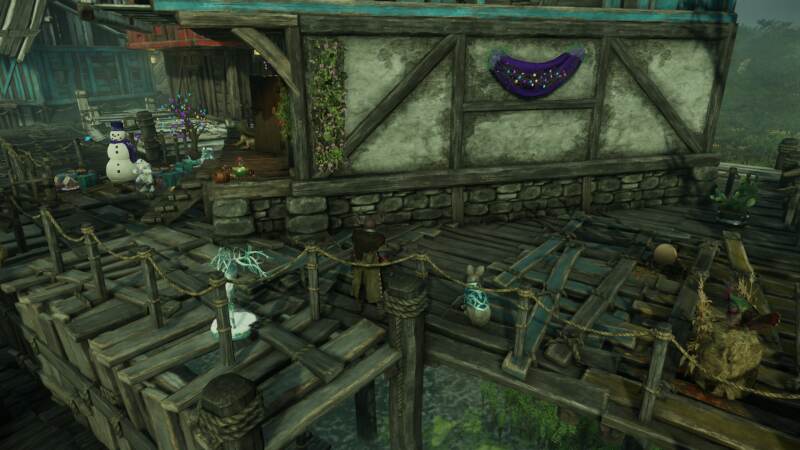
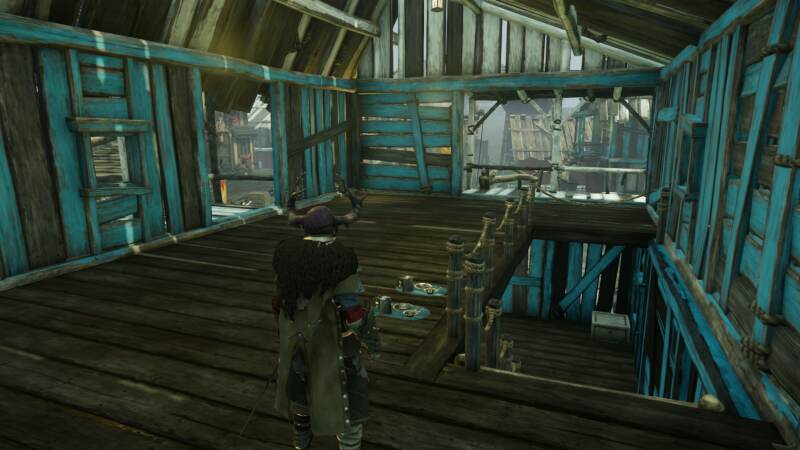
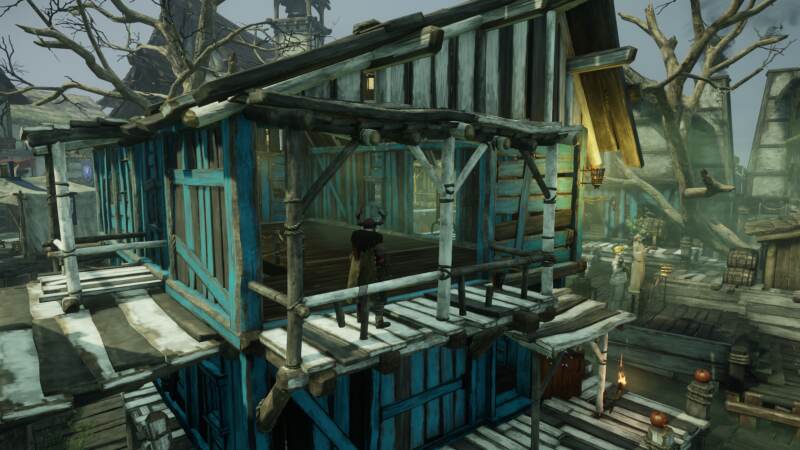
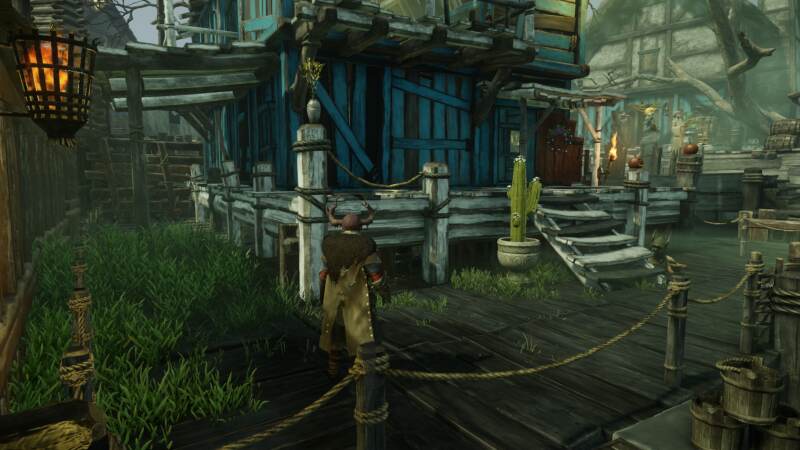
T4E is a layout we’ve seen before with the open balconies, but the semi-private side garden is a nice feature. There’s actual grass this time instead of just wooden boards.
Tier 4 House F (T4F)
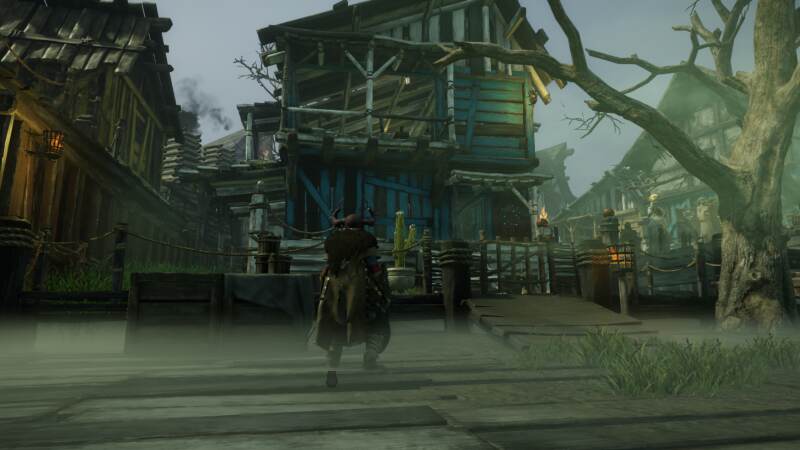
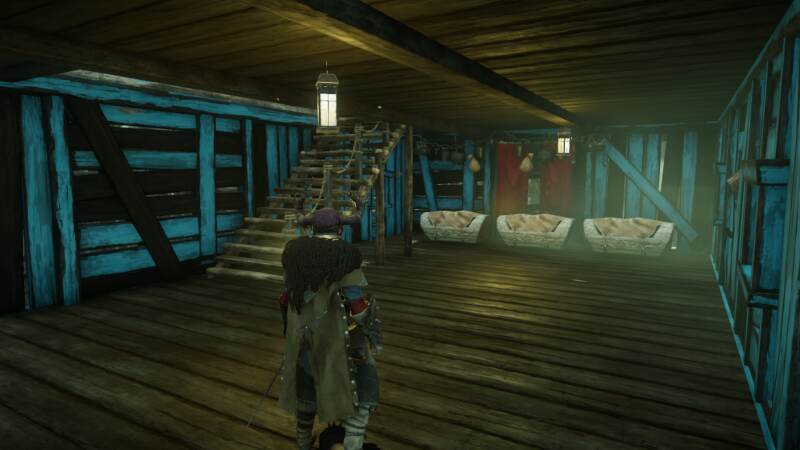
This tier 4 has a very standard inside and a pretty unusual outside, featuring a narrow path wrapping around the side and back of the house, as well as a spacious landing area in front of the property, which I have no idea what I’d do with personally.
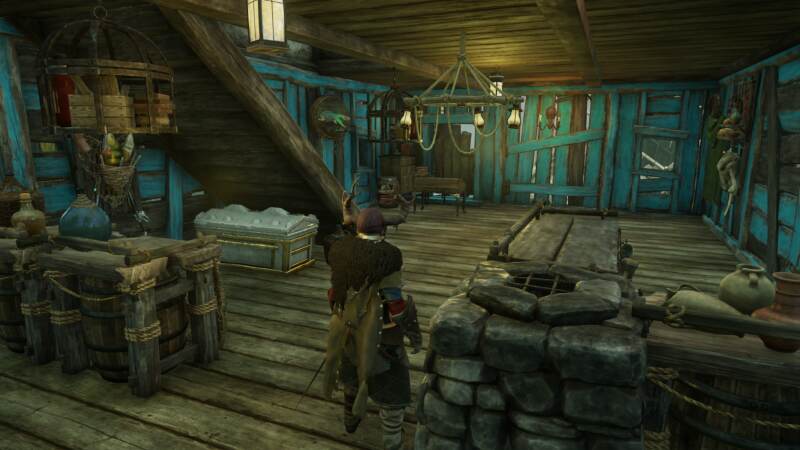
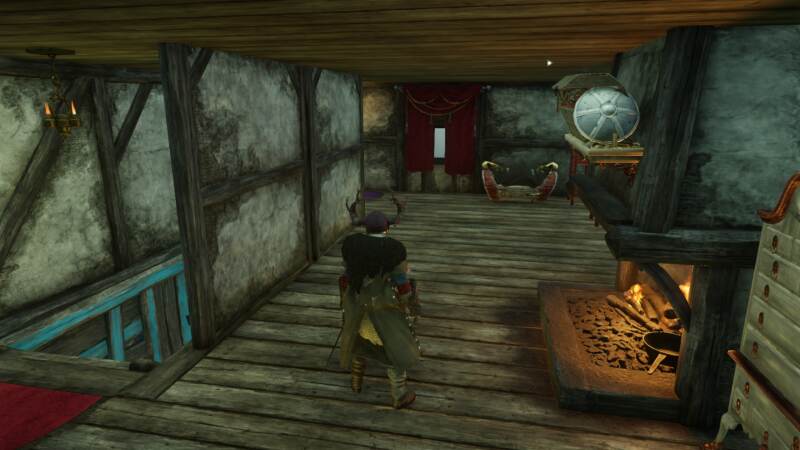
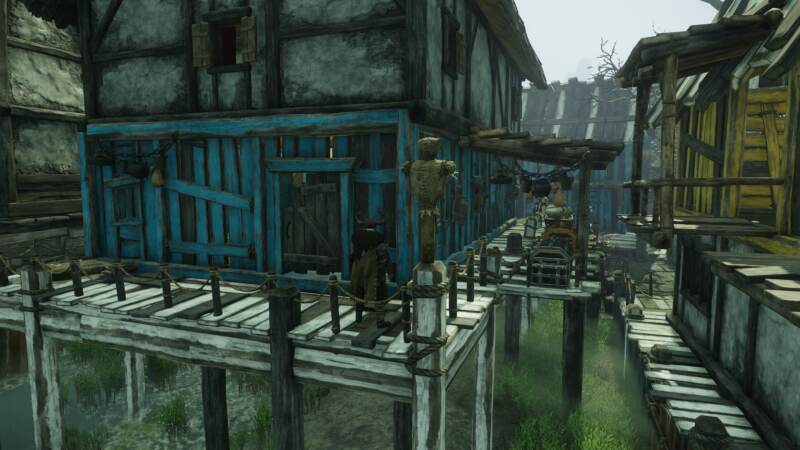
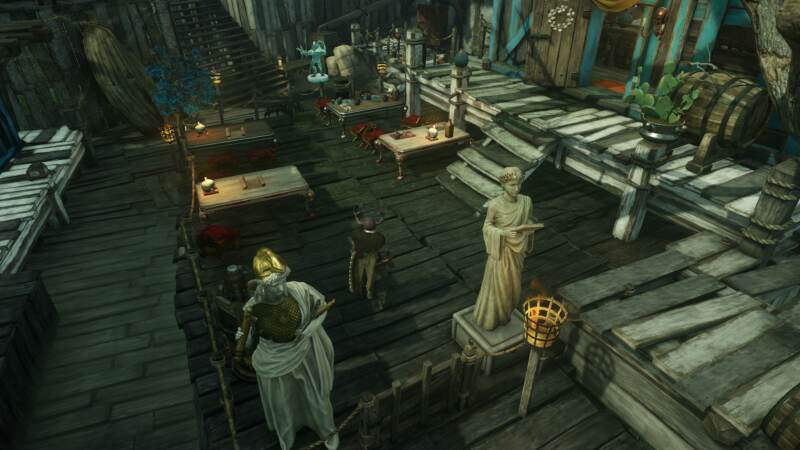
Tier 4 House G (T4G)
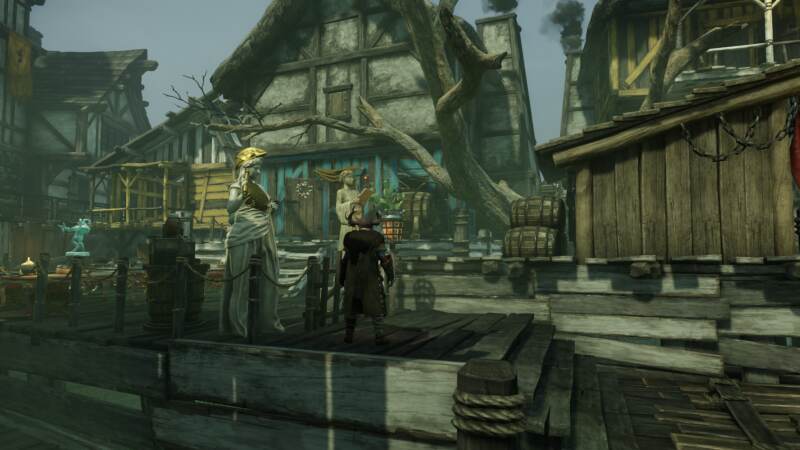
While we’ve seen this layout several times, this property is arguably the worst version. It has less outside space to decorate and is in an unappealing location, away from everything useful.
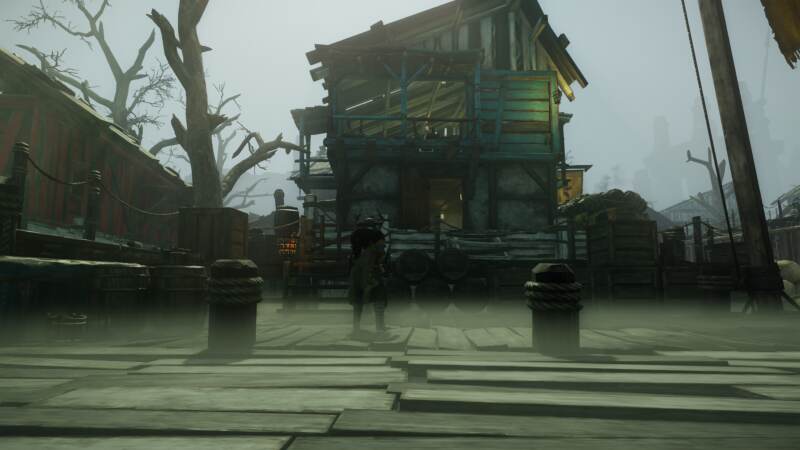
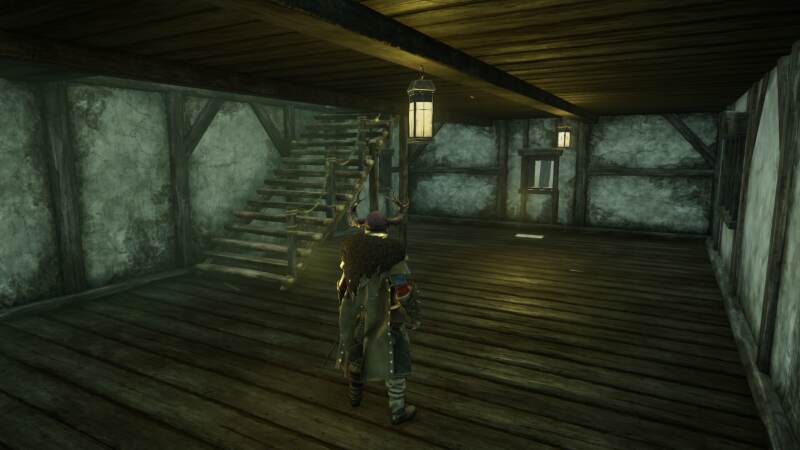
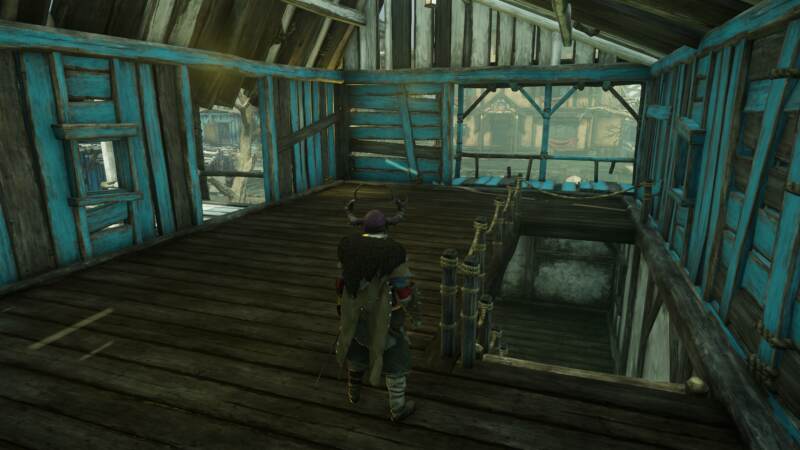
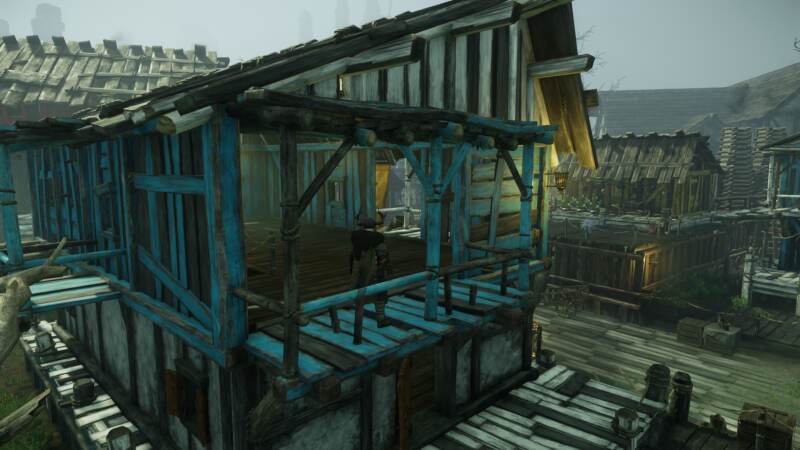
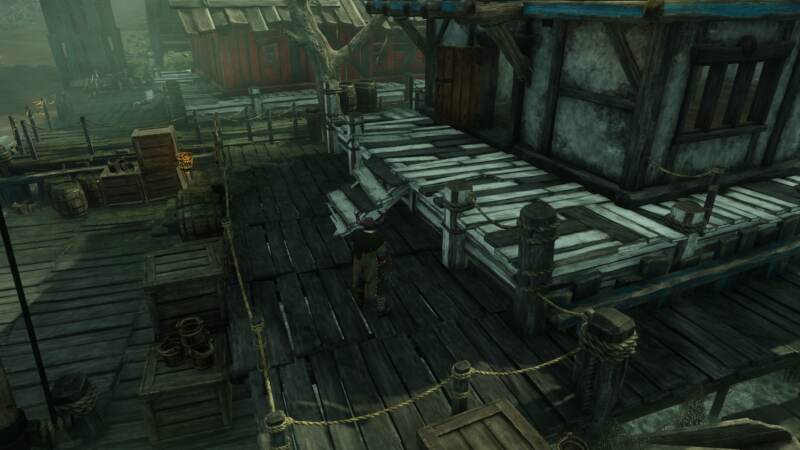
Tier 4 House H (T4H)
While T4H does have a nice layout, we’ve seen it before. It’s basically just T4A/T4B in a worse location, unless you really like looking at the sinking house behind the property.

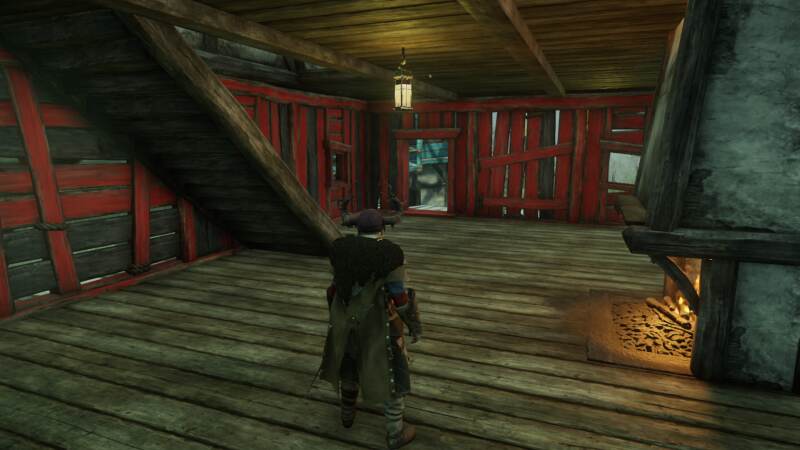
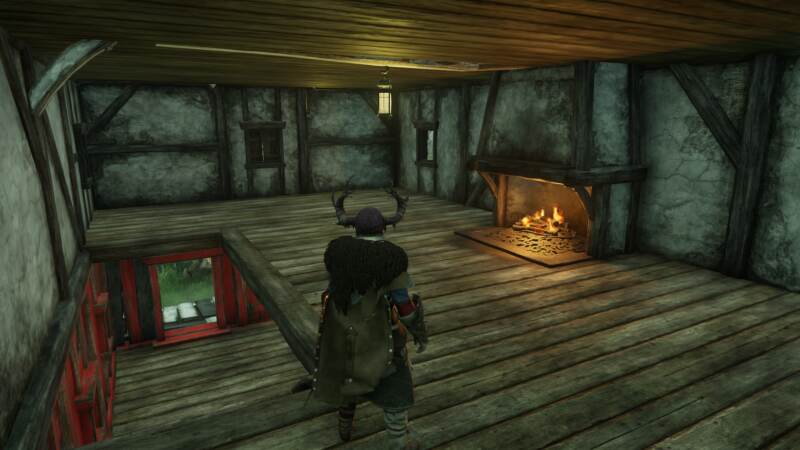
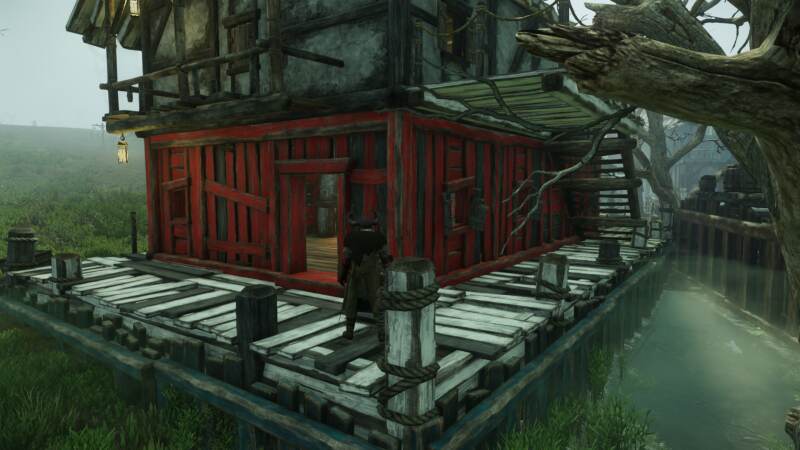
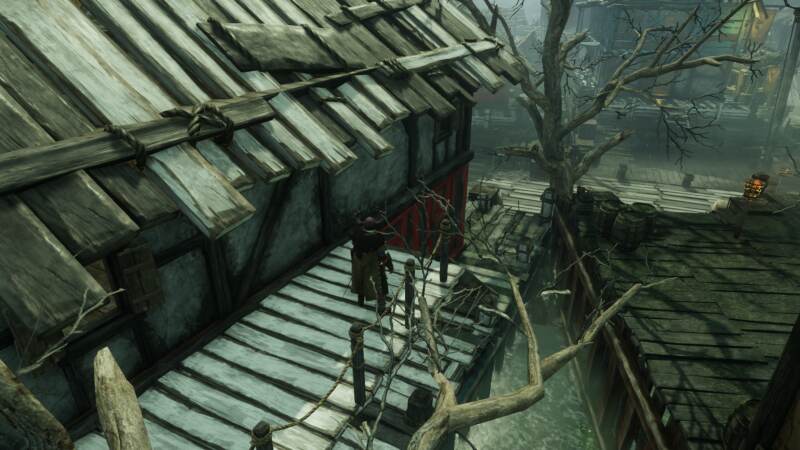
Tier 3 Weaver’s Fen Houses
Tier 3 House A (T3A)
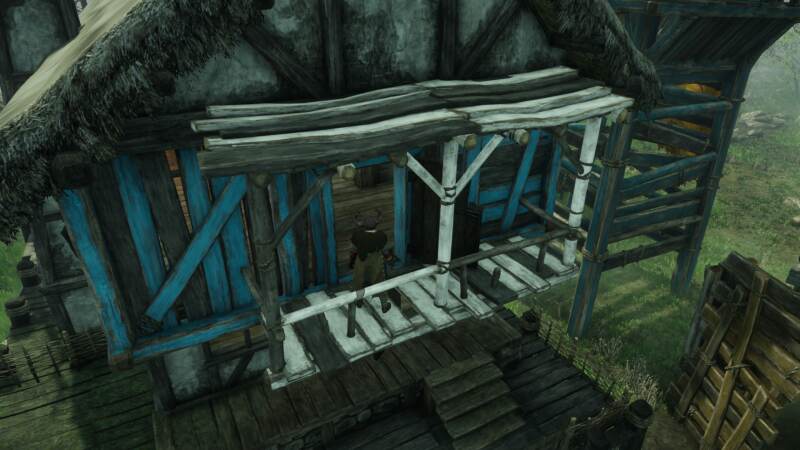
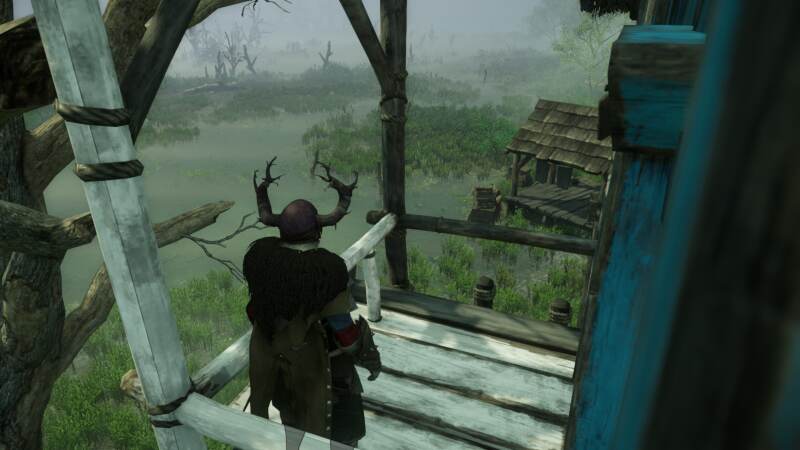
With a pretty bad location, T3A is basically the same as the tier 2 house across from it, except it has two tiny balconies on the upper floor. Enjoy your view of the swamp!
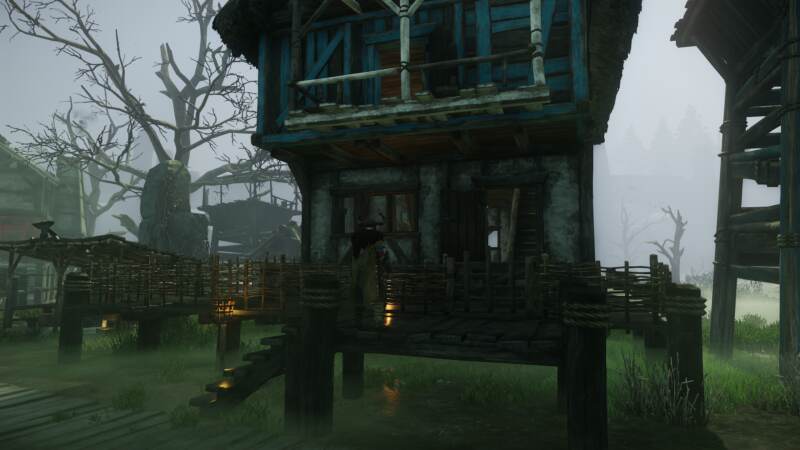
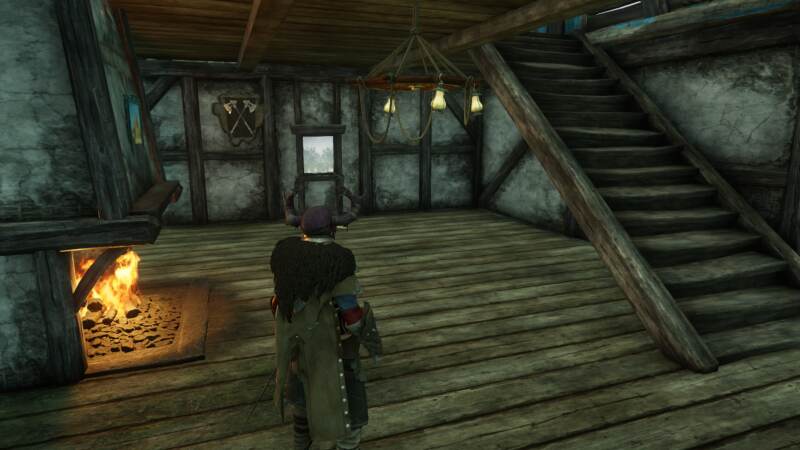
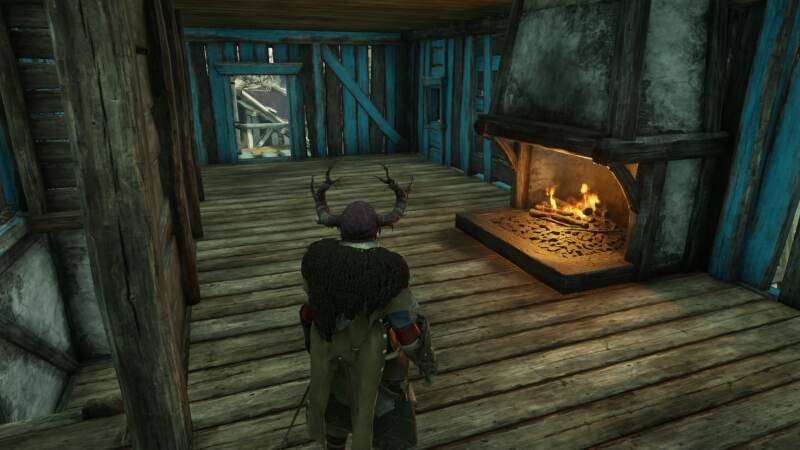
Tier 3 House B (T3B)
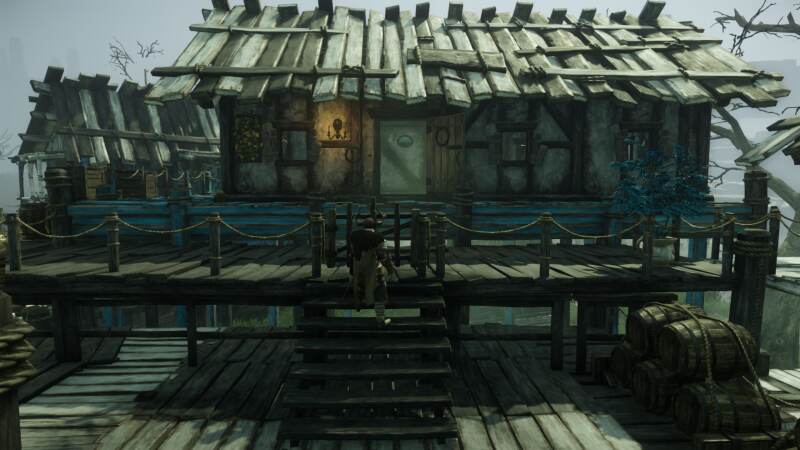
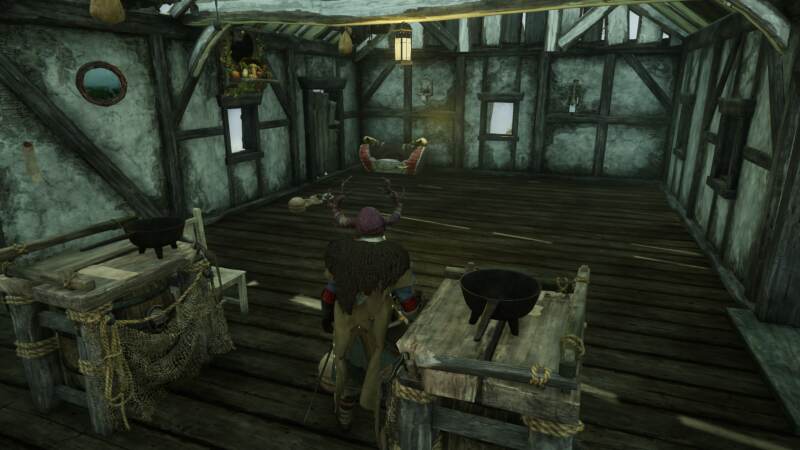
Since the location’s pretty bad this is definitely a house to be chosen for decorating, not for convenience. T3B has a single large room, and tons of space outside which is split between two levels.
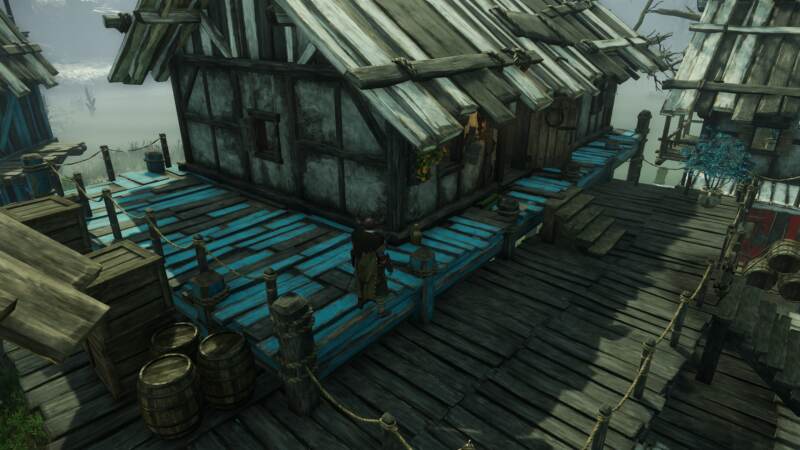
Tier 3 House C (T3C)
It’s a simple two-floor layout with an alcove upstairs and a little bit of extra space in front of the house to place decorations. The best thing about this property is the location because it’s near a storage shed, several crafting stations, and the Syndicate faction representative.
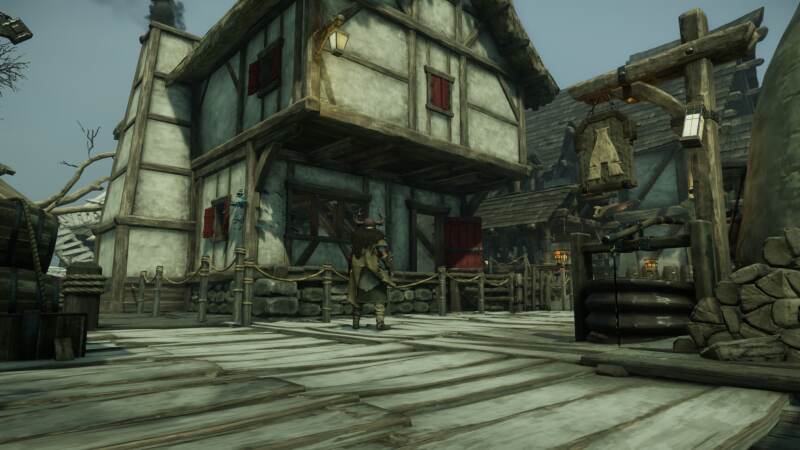
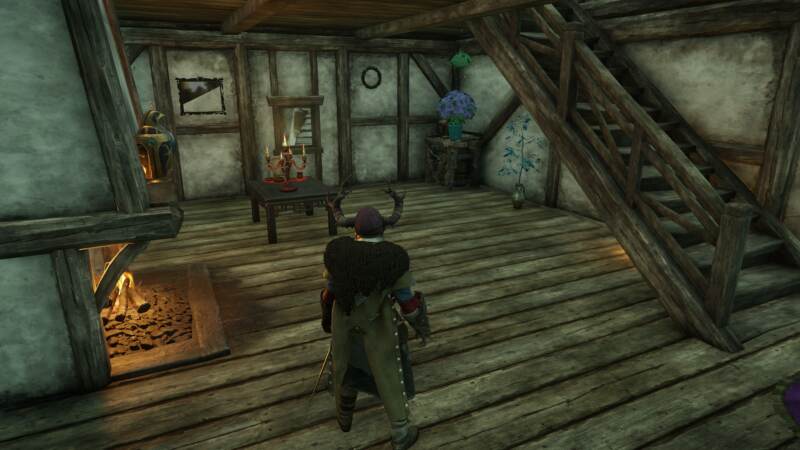
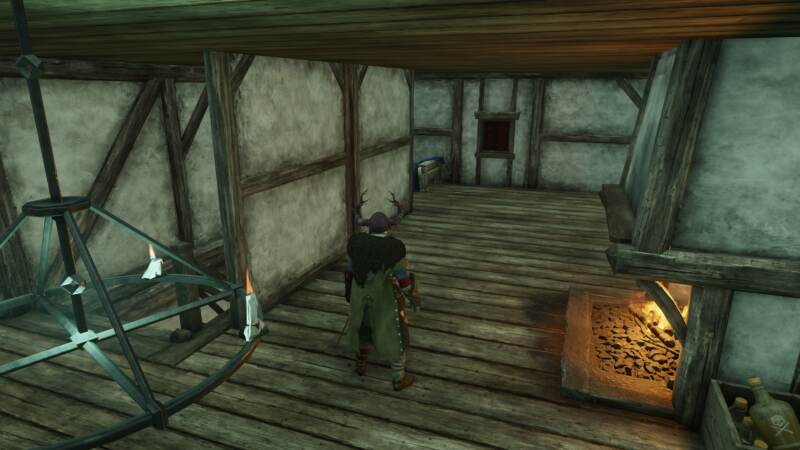
Tier 3 House D (T3D)
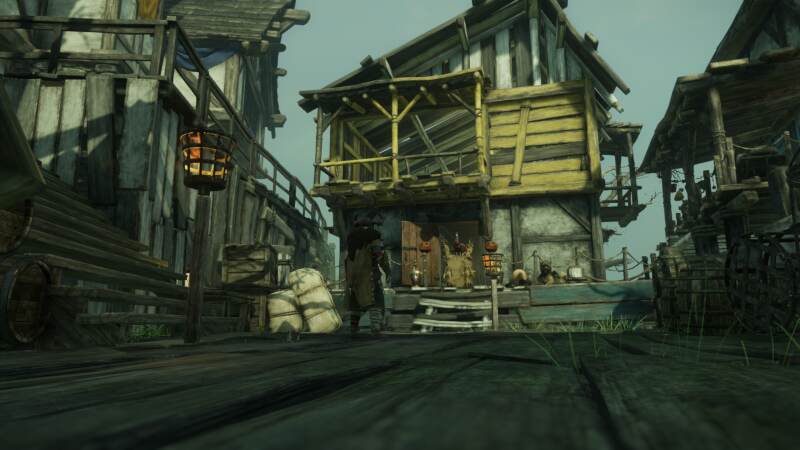
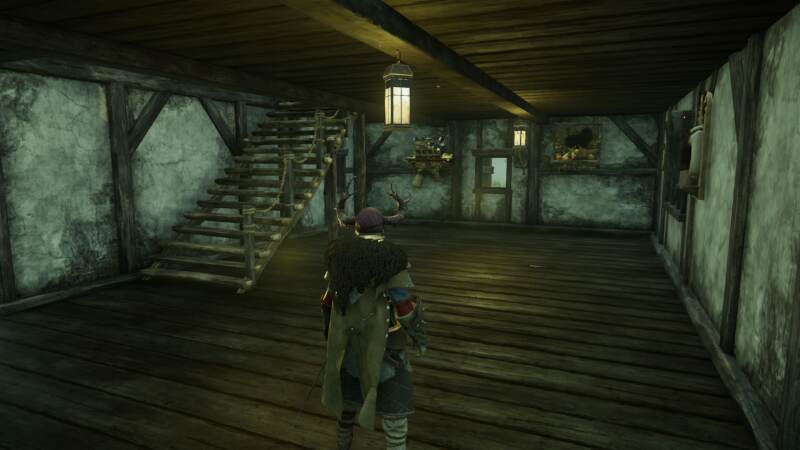
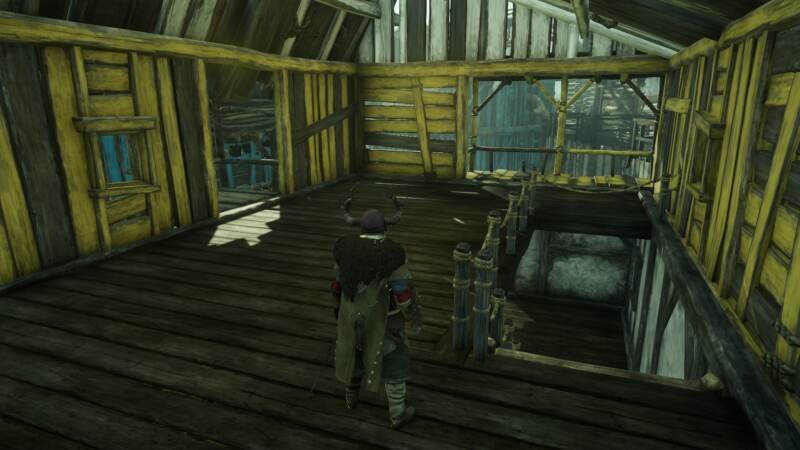
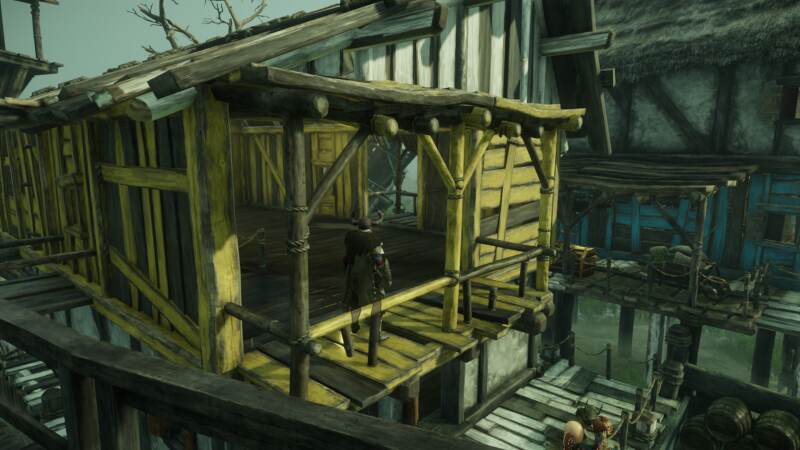
T3D is definitely a unique design I haven’t seen before. It’s a two-story but the top floor has an open front balcony as well as a small side balcony. This one definitely scores points for interesting design opportunities.
Tier 3 House E (T3E)
T3E is a copy of T3A just with yellow walls instead of blue. It’s also in a slightly nicer looking location, but it’s still not a good one.
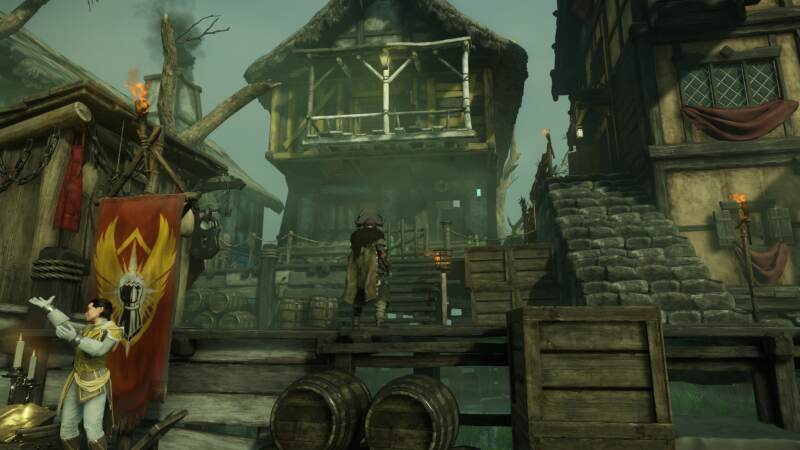
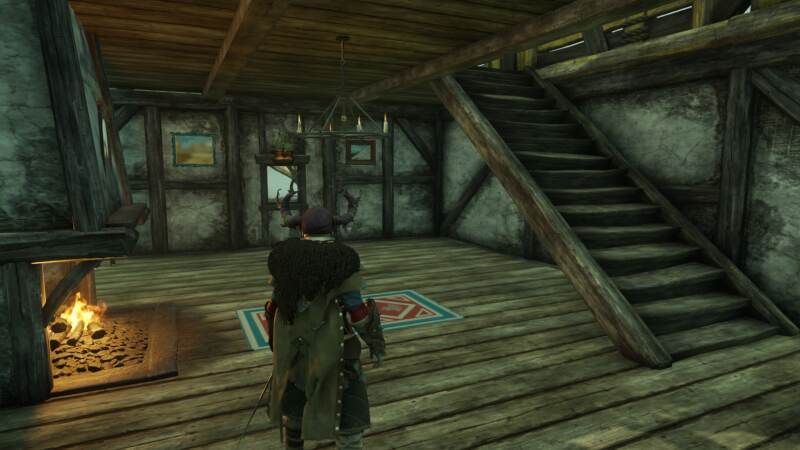
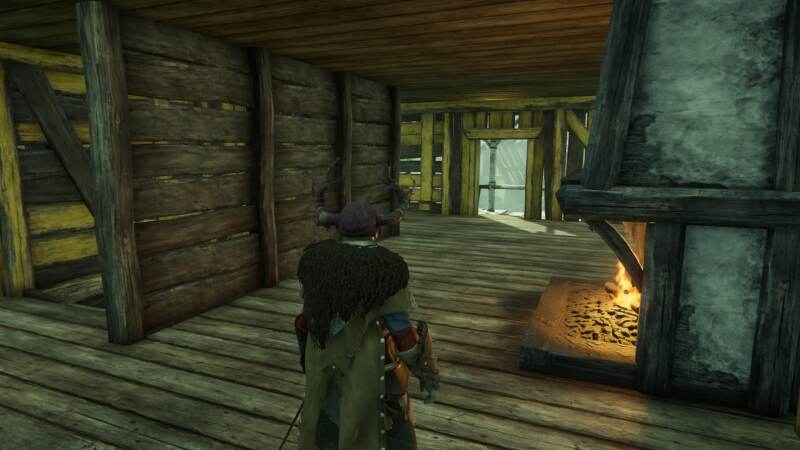
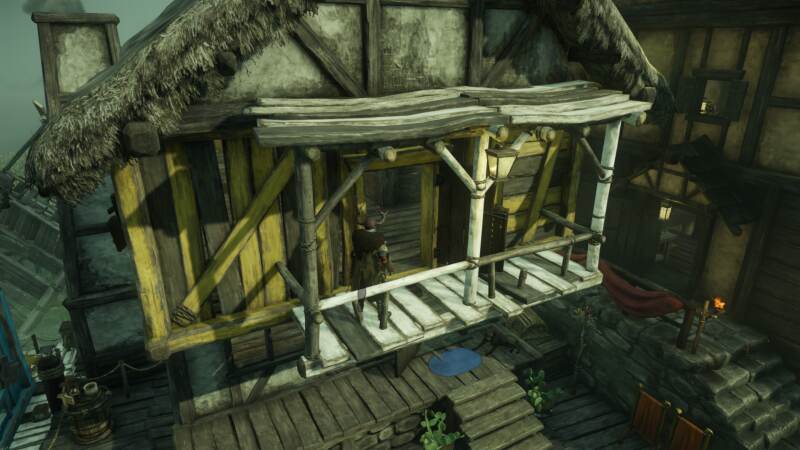
Tier 3 House F (T3F)
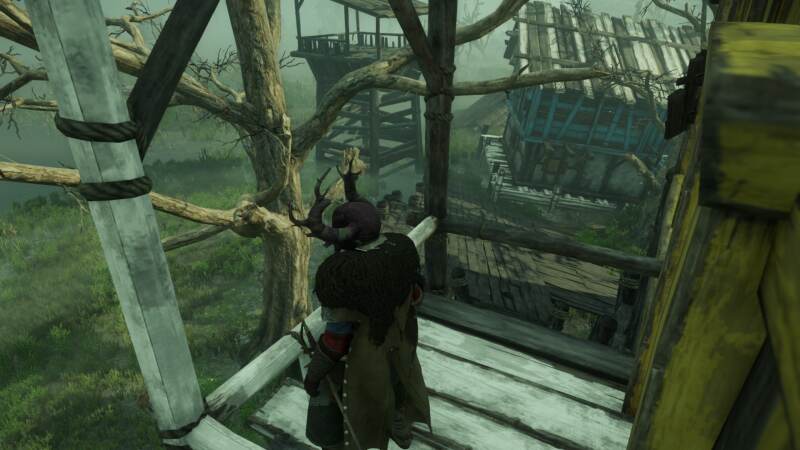
Like T3B, T3F is only really worth anything to decorators. What T3F has over the other one is its proximity to the South gate, and a tree sticking through the boards of the property.
Tier 2 Weaver’s Fen Houses
Tier 2 House A (T2A)
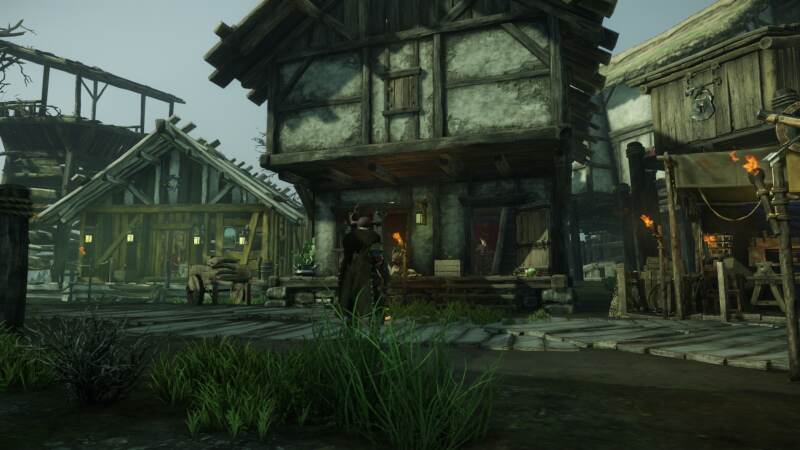
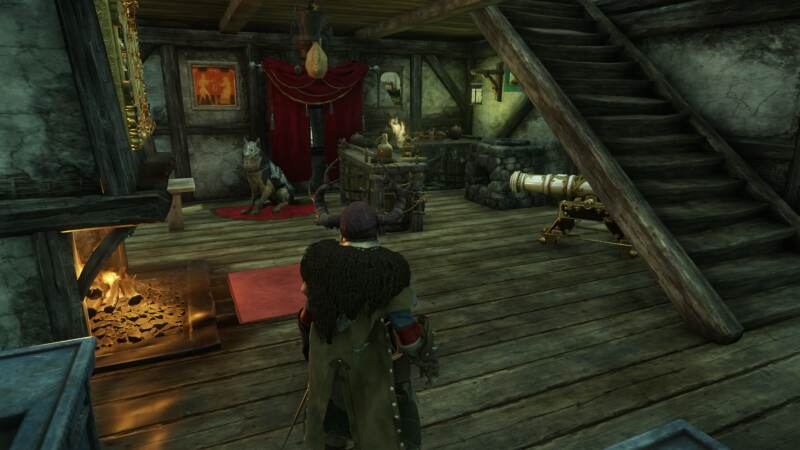
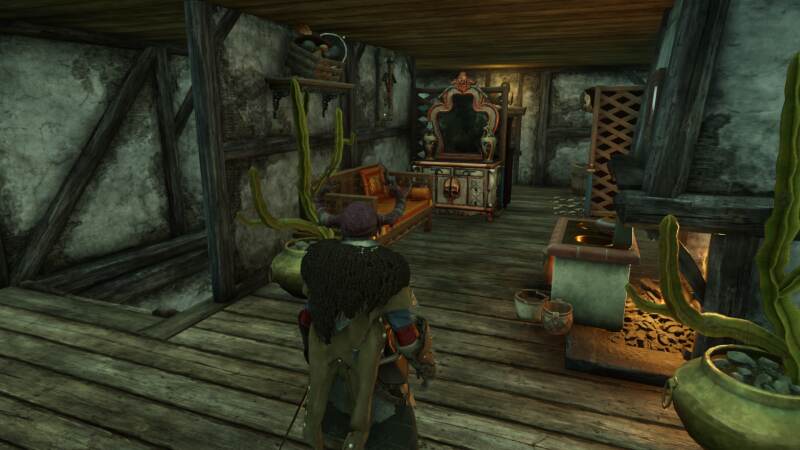
T2A is one of the standard two-floor house layouts that exist throughout new world, with a small alcove on the second floor that most decorators make into a bedroom. This house doesn’t have anything special going for it in terms of location or unique design.
Tier 2 House B (T2B)
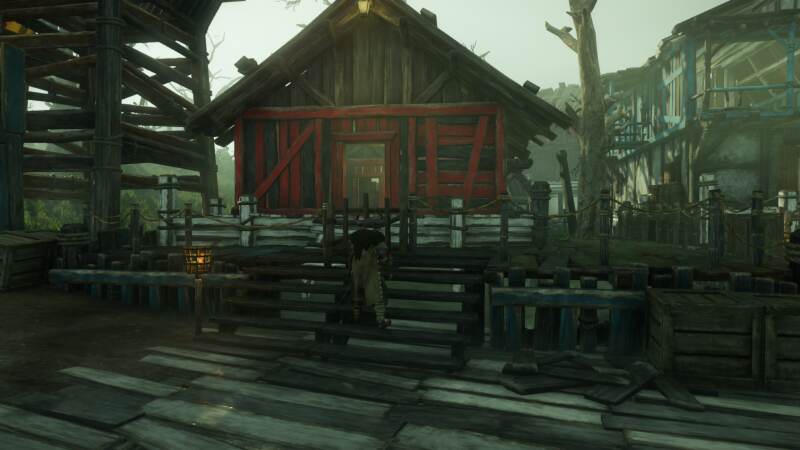
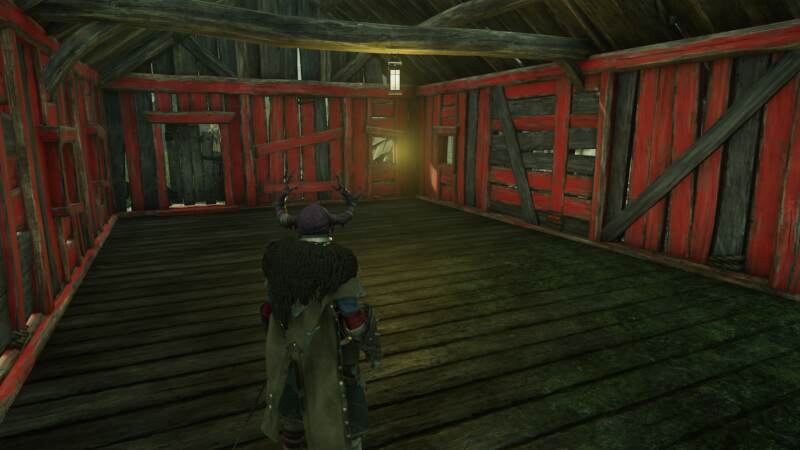
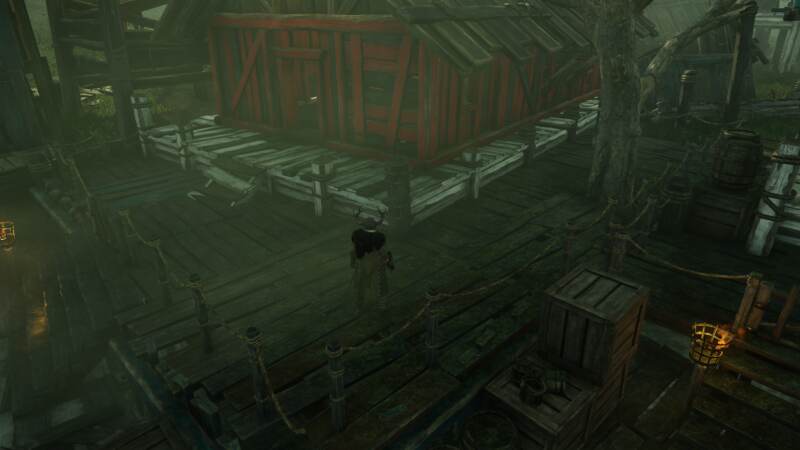
T2B is very unusual. It has a tiny room to decorate, and the rest of the property is a wide open ‘yard’ area of wooden planks. It looks like it has a nice central location (it’s near the trading post too) until you realize there’s no storage shed in easy reach.
Tier 1 Weaver’s Fen Houses
Tier 1 House A (T1A)
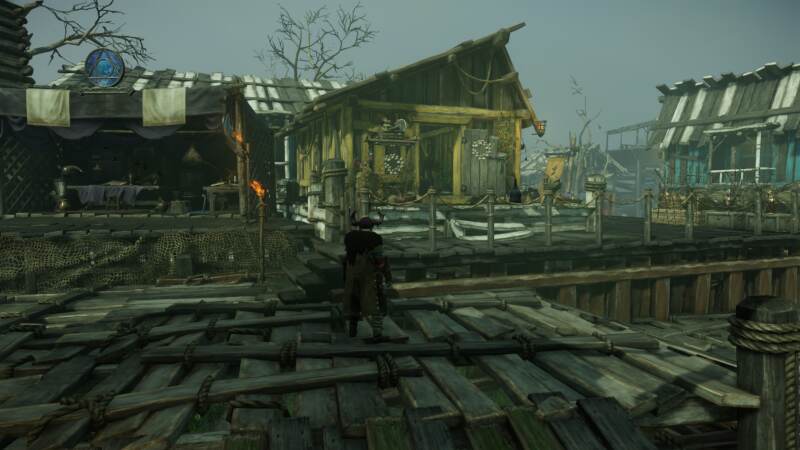
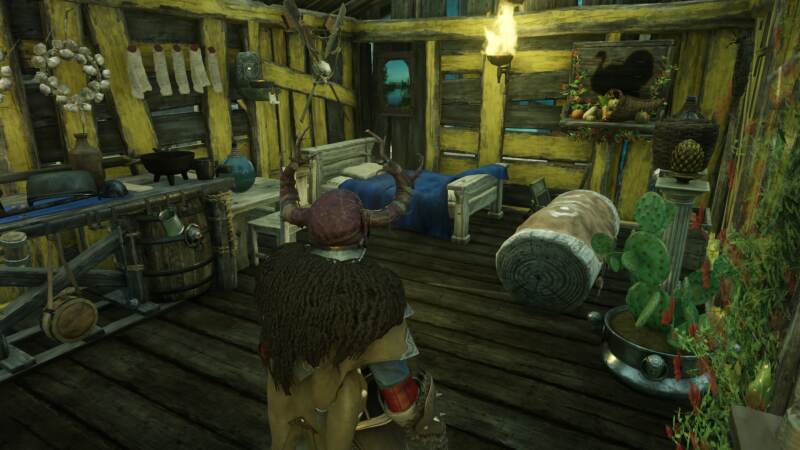
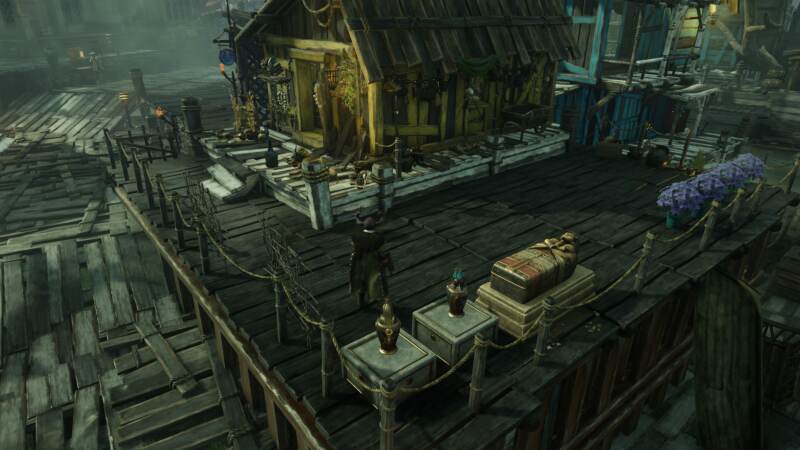
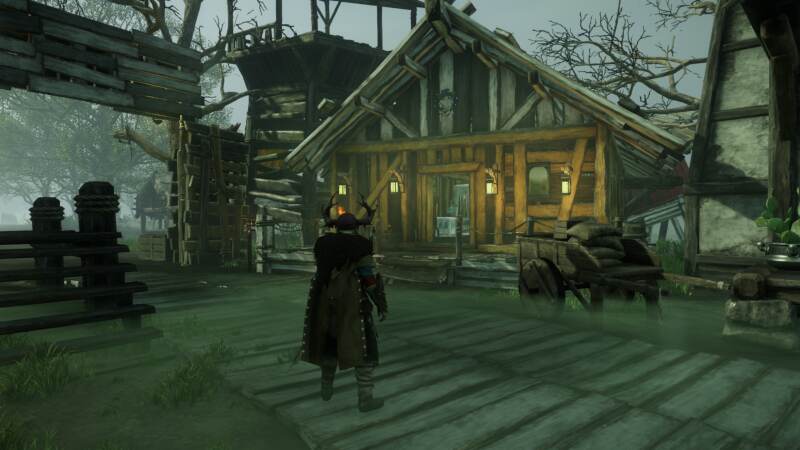
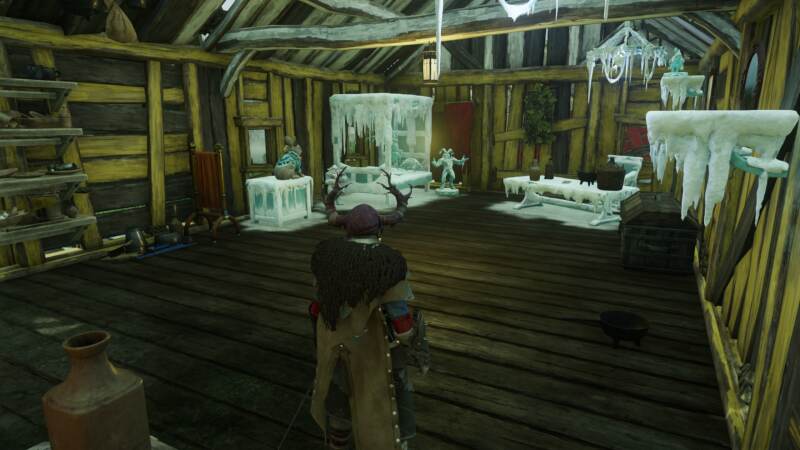
This house is cheap and cheap-looking. It’s more of a shack, but the room is still a decent size. It’s close to the Northeast gate of the city and a few crafting stations, but it’s a bad location in general.
Leave a Reply